CS559 Tutorial: Integrate GitHub Copilot into VS Code
Instructions on how to setup GitHub Copilot so that it gives suggestions in VS Code.
Setting up Copilot to Work with VS Code
Note that if you do not have GitHub Copilot yet, you should follow the steps of our (instructions on setting up GitHub Copilot ) before following these instructions. For these instructions, it does not matter whether you have Copilot Free or Copilot Pro – the process is the same. The only difference is that, once you get Copilot to give you suggestions and chat with you, you may run into a message/suggestion limit if you are using Copilot Free. If you later upgrade from Copilot Free to Copilot Pro on GitHub, VS Code should automatically remove this limit (you may have to close all of VS Code’s windows and open them again to make it recognize the upgrade).
Install VS Code
VS Code can be downloaded from https://code.visualstudio.com/download. Simply go to the given web page and click on the respective download button for your OS. Then wait for the download to complete and run the downloaded executable (on Windows, this is done by double double clicking the executable) so that it can install VS Code on your device. Click through any menus that pop up until you reach the “Install” button. Click the “Install” button and wait for the installation to finish. Once done, you should see a Window popup saying that you have successfully installed VS Code and/or you should see VS Code automatically open itself.
Install Copilot as a VS Code Extension
Open VS Code and go to the extensions panel of the application by clicking on the square with a corner missing in the menu to the left (as shown in the image below). Then type “copilot” in the search bar at the top of the extensions panel and click the “GitHub Copilot” result. This should open up a page that looks the same as the following image (the colors might be different depending on your VS Code theme but the content should be the same).
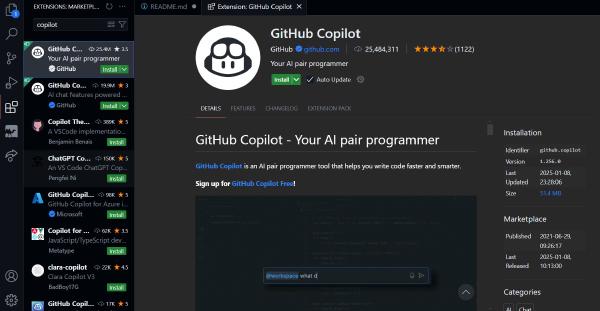
Click “Install” and wait a moment for the extension to install (the extension page also has a lot of useful examples on how to use Copilot so you can scroll through the page as you wait).
The page should look like the following once installed.
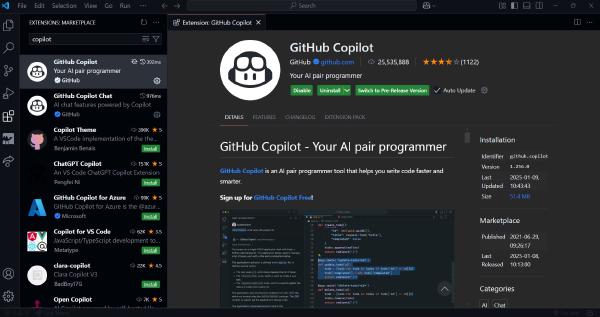
Do the same process to install “GitHub Copilot Chat”.
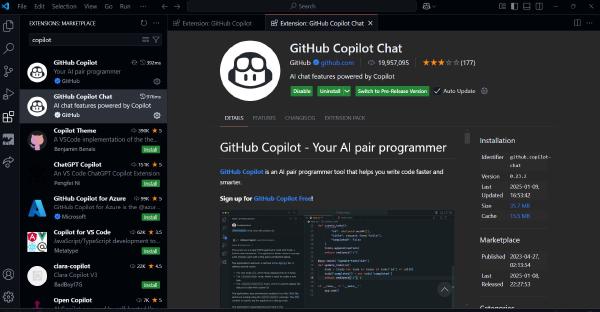
“GitHub Copilot” gives code completion prompts as you type and “GitHub Copilot Chat” allows you to open up a panel and talk to Copilot about your code. The former tends to be good for generating/editing your code and the latter tends to be good for explaining the code generated/edited if you do not understand what the code is doing.
After both extensions are installed, there should be a small Copilot icon somewhere in VS Code (a red box is around it in the image below) that you can click to open up a chat with Copilot. If you are not already signed in to your GitHub account (as far as VS Code is aware) then the panel will look like the following.
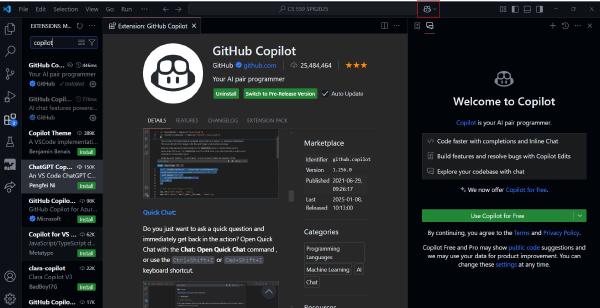
Click the down arrow next to “Use Copilot for Free” and then click “Sign in With a GitHub.com Account”. This should prompt you to log into your GitHub account. Once you have logged in, VS Code will finish setting up Copilot in the background and you can verify its completion by either seeing a new panel appear called “Ask Copilot” or by following the steps in the next section of these instructions.
Verify That Copilot is Installed And Working
Ask Copilot a Question
Click the Copilot icon (as shown in a picture in the previous section) and a new panel labeled “Ask Copilot” should open that looks like the picture below (if a panel opens but has a “Use Copilot for Free” button on it, you may need to restart your VS Code by closing all VS Code windows and then reopening them before this step succeeds).
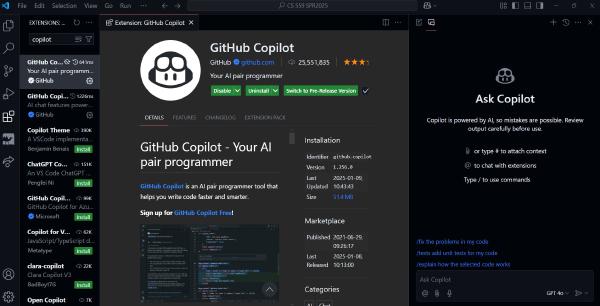
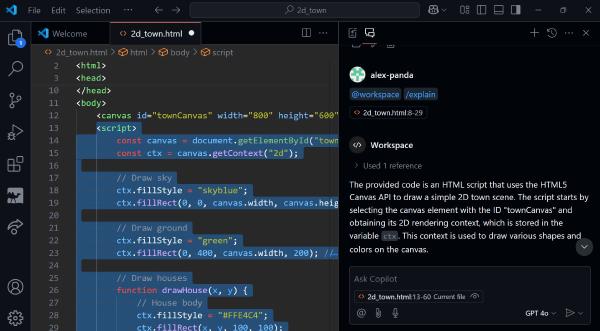
Using this new panel, ask Copilot a question either about itself or a programming problem (it responds with “Sorry, I can’t assist with that.” to questions that do not have to do with programming or itself).
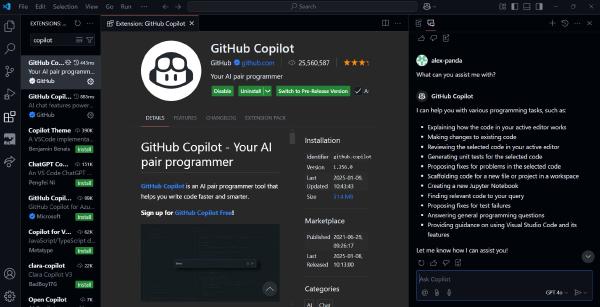
If Copilot responds with an answer to your question then you know that “GitHub Copilot Chat” is both installed and working.
Make Copilot Draw A 2D Town
Note: The following example requires you to have installed the “Live Server” extension for VS Code. If you have not installed it already, install it now using the “Extensions” tab as you did earlier for the “GitHub Copilot” and “GitHub Copilot Chat” extensions.
In a VS Code window, click the two-pages button on the left side of the window (there is a red box around it in the image below). Normally the panel this opens is populated by the directory structure of the current workspace, but since a fresh VS Code window does not have a workspace, we will have to create one. A “workspace” is simply a folder that will serve as the root of your directory structure. For example, if you have multiple JavaScript files, you will put them into a directory and said directory is your “workspace”.
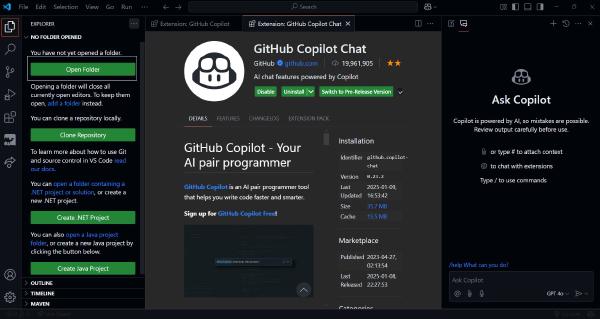
Click the “Open Folder” button (with a white box around it in the image above) and a platform-specific folder-explorer should open. Use it to create a new folder (with any name) and then select the folder so that VS Code opens it. You should now be looking at an application that looks like the following (you may have to click an “I Trust This Folder” button to get to it).
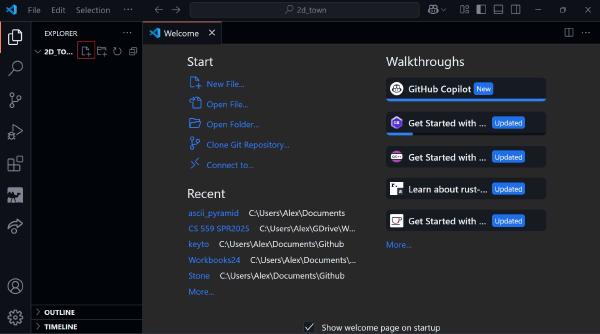
Now scroll over to the “EXPLORER” panel and click the “New File” button (it has a red box around it in the above image). It should give you a prompt to create a new file. Name the file whatever you want but give it a .html extension. Once created, click on the file and a new tab should open that allows you to edit the file.
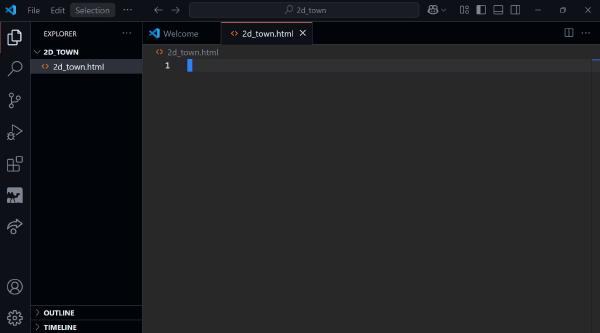
Right-click the first line of the file and go to “Copilot > Editor Inline Chat”. You should now see a chat prompt like is shown in the following image.
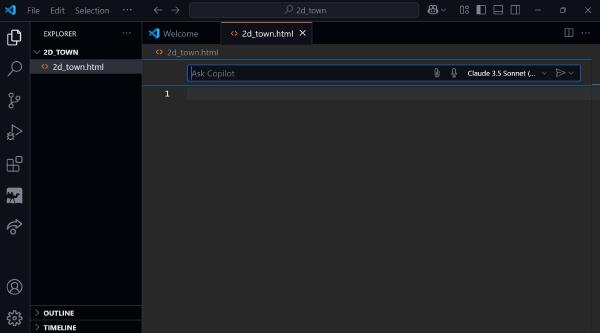
Now type “Make a program that shows a 2D town on an HTML Canvas.” and hit enter. Copilot should generate the code requested. If it does generate the code, then you know that Copilot is installed and working (the rest of this section is purely for practice using Copilot).
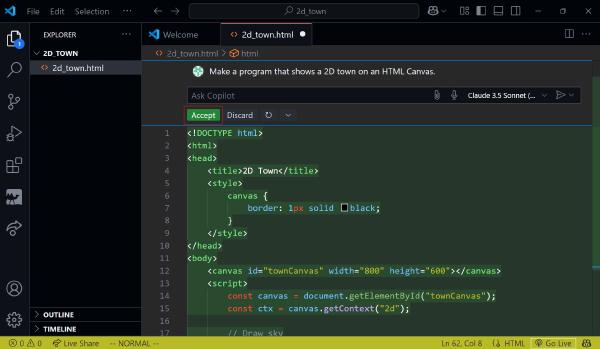
Click “Accept” to accept the changes that Copilot made to the file and then save the file (because “Accept” does not automatically save it). Then click “Go Live” to open the HTML page in a local server. This should open up your default browser and make it display the generated HTML page (your picture/page will probably look different than the one below).

You can right click any line of the file and go to “Copilot > Editor Inline Chat” to make Copilot edit the file starting from that line. This is useful if you want Copilot to change a specific part of the file which can happen when you want to make small changes or fix a bug that you think is happening in a certain part of your code but you are not sure where in the code the problem is occuring.

You can also have Copilot try to fix your code if you right-click and do “Copilot > Fix”, although this only really helps with the most obvious bugs. Right-clicking and doing “Copilot > Explain” makes Copilot explain the code you right-clicked on.
